|
|
|
|
|
|
 |
|
|
|

|
Little Sebago Kitchen On this particular job, the plan is to totally revamp the kitchen which will involve the following: Strip the walls & ceiling and insulate, install new sheet rock, as well install a new coat closet, washer/dryer space, re-locate bedroom entries, build a custom bench for dining nook, new windows, new entry door, total re-wiring and finish off with a brand new fireplace & hearth and re-finished oak flooring. Oh and of course and brand new set of kitchen cabinets with granite countertops and appliances. So here we go......
Before Pictures
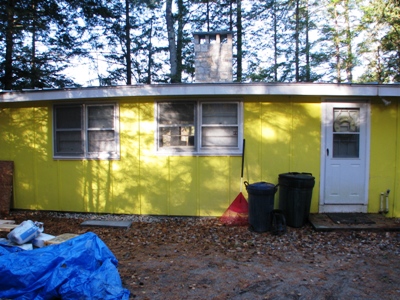
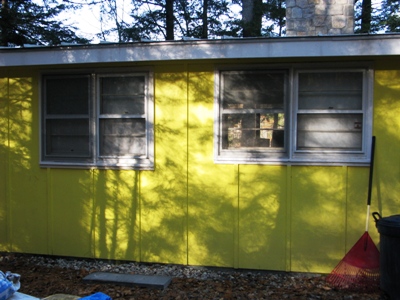
Entry door to be replaced Windows to be upgraded
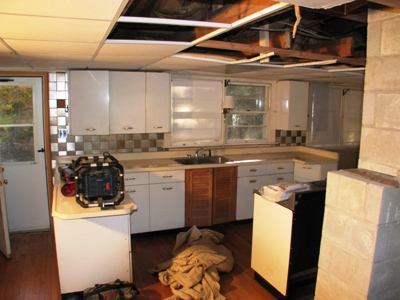
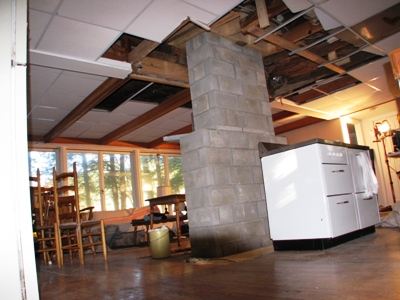
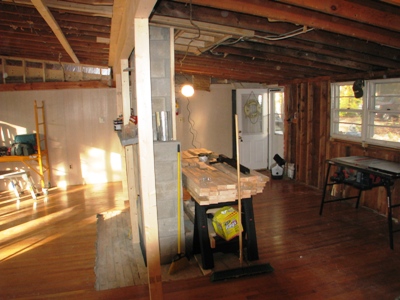
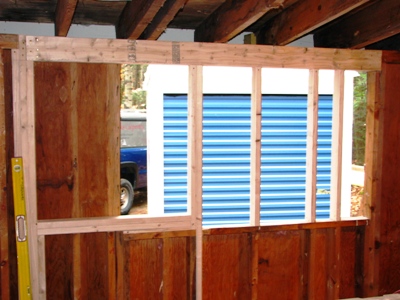
Metal cabinets are coming out View from living room
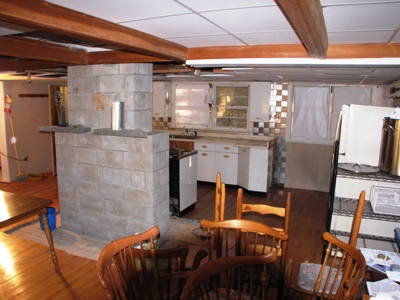
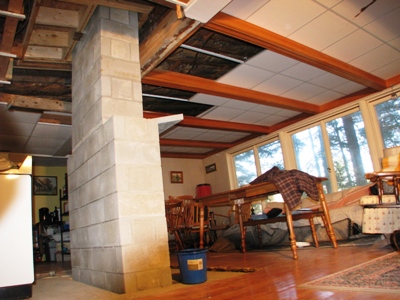
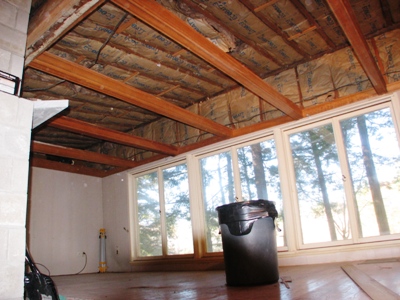
All ceiling tile comes out to expose a vaulted ceiling Cement blocks awaits the final finish for a stone hearth
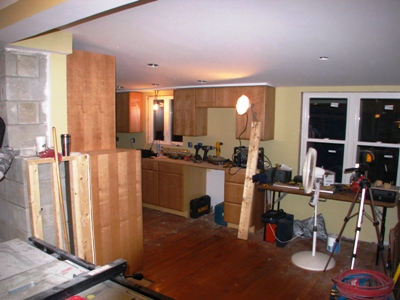
Work Begins
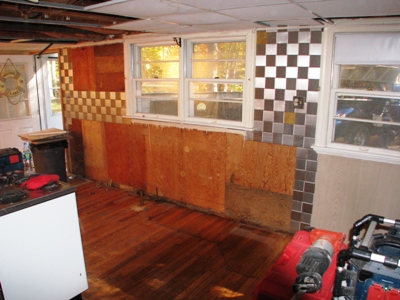
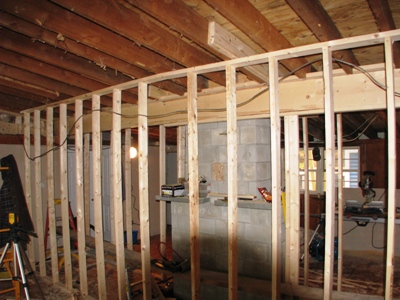
Cabinets gone and wall to be stripped View from entryway
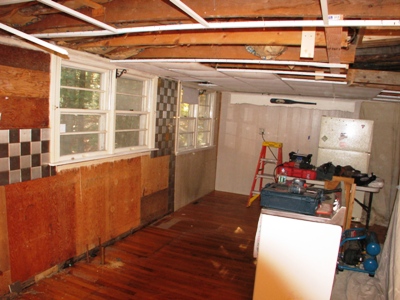
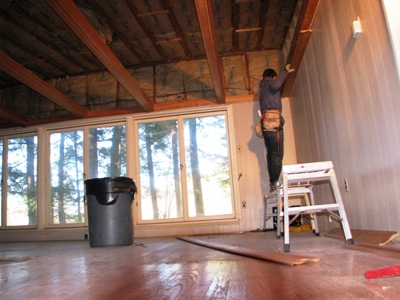
Living room ceiling tiles gone. Now to strip the beams Second view
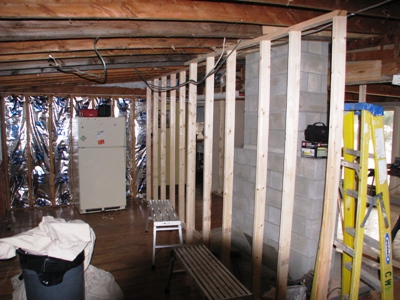
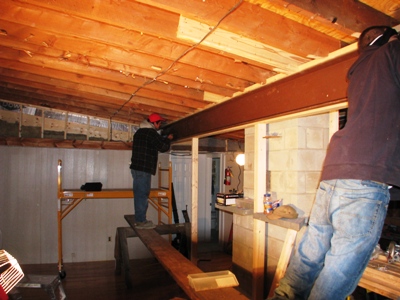
Temporary walls in place in order to install a new steel beam. Temporary wall on living room side almost done.
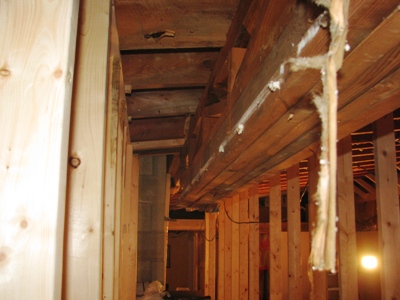
Remaining existing beam to be removed. Cutting out the last of the old beam.
Installing a Quad Beam with glue in between layers. Now it's time to add 1/2 plywood gusset to 2x12 wood beam.
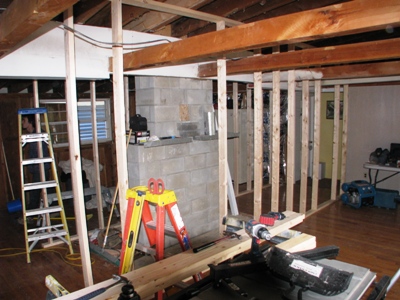
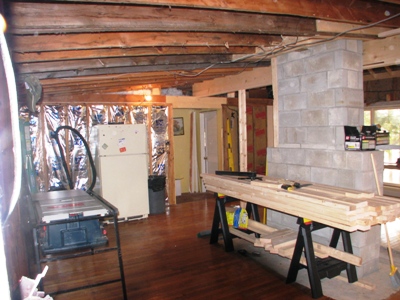
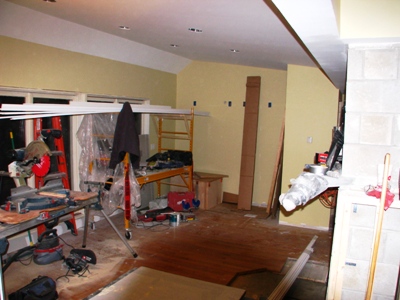
Wood beam is done and ready to receive steel beam. With temporary walls now out of the way things really open up.
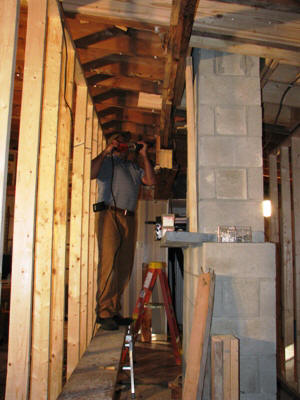
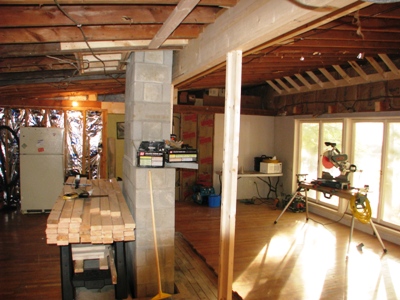
View from Master bedroom foyer. Wood beam with temporary posts in place and waiting for steel beam.
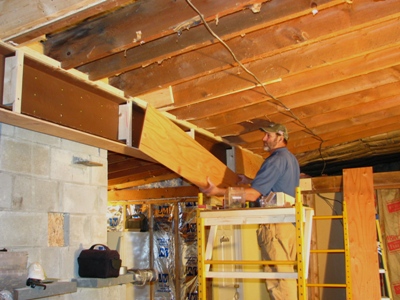
View from future laundry room. Installing steel beam to supporting wood beam.
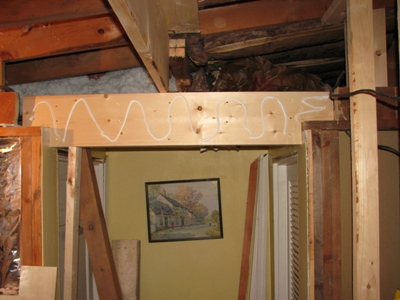
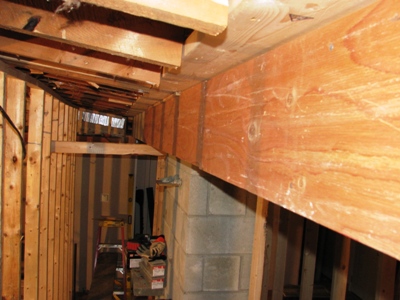
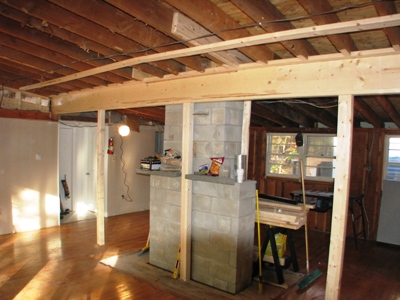
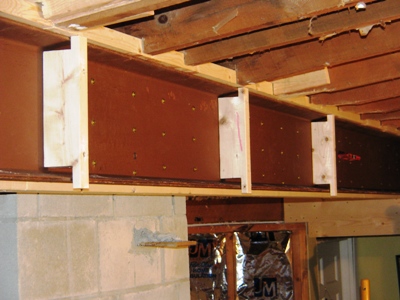
Blocking beam to complete the boxing out process. Apply plywood to cover beam and make ready for sheetrock.
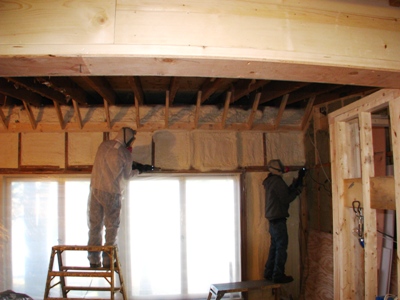
Re-framing kitchen window opening. Foam spray added to 3-1/2" living room wall.
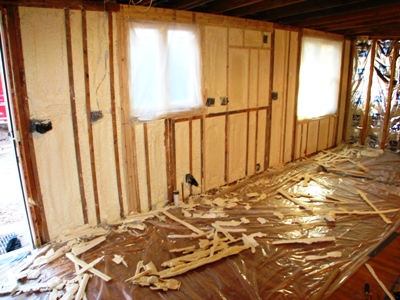
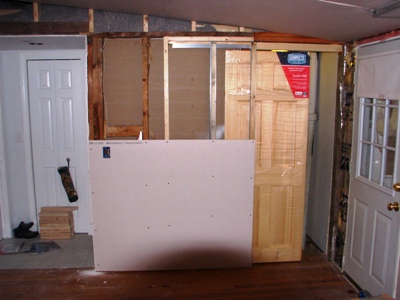
Kitchen wall also gets the foam spray. Drywall installation begins and pocket door to be installed.
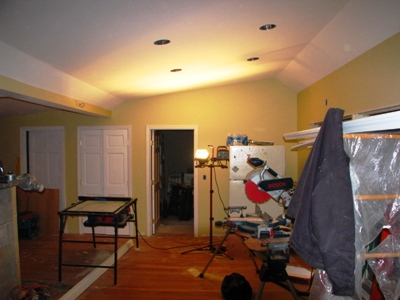
Pocket door installed. Time to cover up with sheetrock. Drywall completed and one coat of paint added throughout.
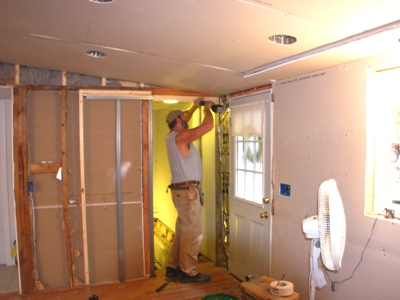
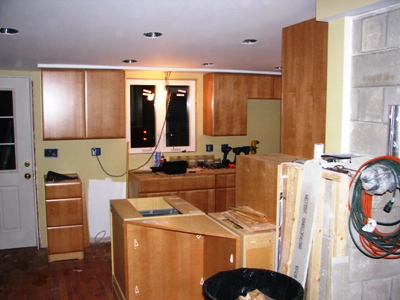
Installed 3 new doors. Middle door to be location of washer/dryer. Kitchen cabinet installation begins.
Cabinets ready for hardware.
Final Product "Before & After"
|