|
|
|
|
|
|
 |
|
|
 |
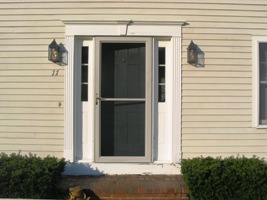
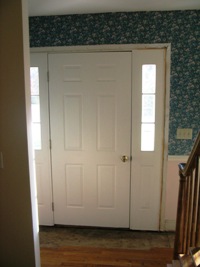
Mattis Front
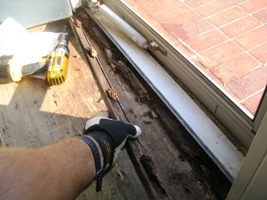
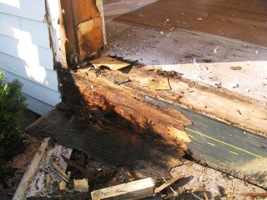
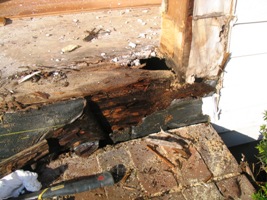
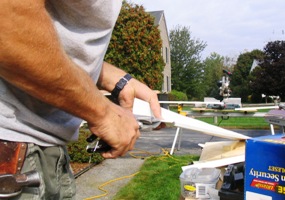
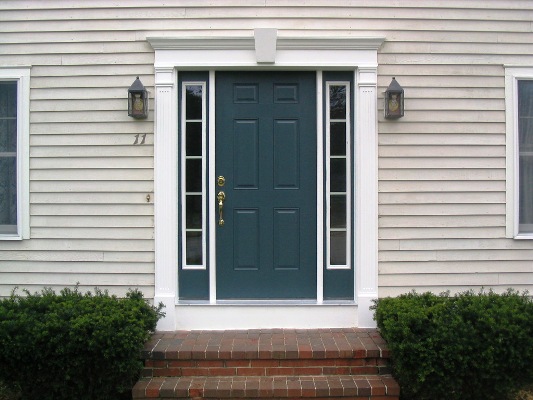
Entry Door Many folks have rot concealed within the walls. A good indication is peeling paint and or soft wood in general. In this case, Mr. Mattis was fully aware of the rot around his front door and felt it was time to take care of the issue. With this front entry door the rot was extensive and rampant. All resulting in poor flashing applied at the very top of the detailed head trim of the door and an overall trim detail done in a marginal fashion. I found many nails that were directly nail on the surface of the upper flashing which only helped in getting water down into the door. Also the head trim detail had many pieces put together which allowed more water penetration. I've decided to have detailed photos of this project to give an idea of had bad it can get when installations are done poorly. As for the materials used, I'll be installing Fypon Trim and a Therma-Tru exterior door both provided by Harvey Industries
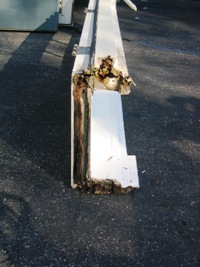
Front Door as it is. Right side corner has the worst of it
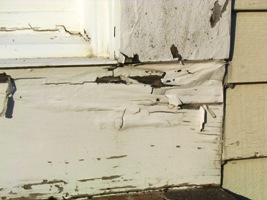
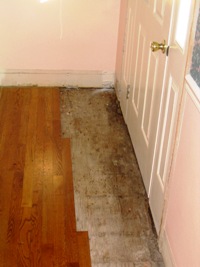
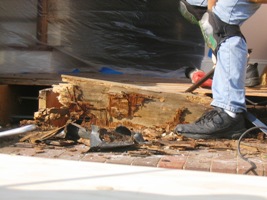
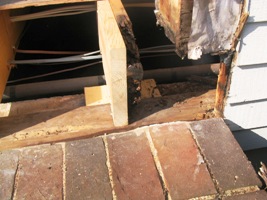
Right side corner inside. Rot exposes basement! Floor stripped to install new plywood
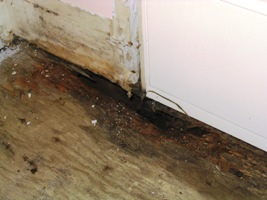
Adjustable sill completely rotted!! Inside of door as is with trim removed
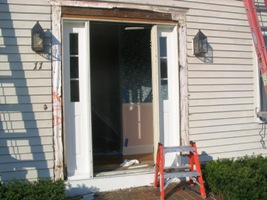
Storm door and front door removed Partial detail of existing Head Trim
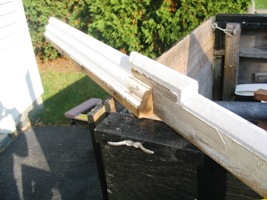
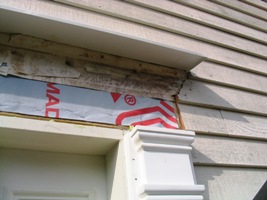
Side detail of new Fypon Head Trim The right sidelight bottom rotted
Left side rotted Right side rot very extensive. Notice the hole?
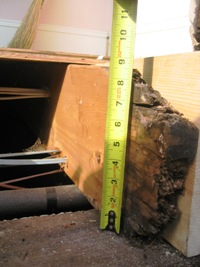
Time to remove the rotted box frame This shows the joist had sunk 3/4"! It should measure 9-1/4" not 8-1/2"
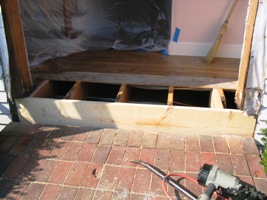
Added a small portion of framing to support rotted joist New Box frame is now in and plywood is next.
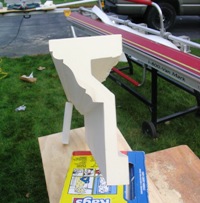
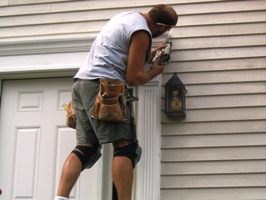
Custom flashing fabricated for top of Crown Moulding Flashing now in place and ready for moulding
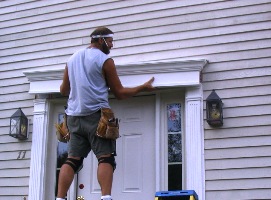
Time to Crown the door Caulking is the most essential part of installation
Final Product
|